In today’s digital age, the camera on an iPad serves multiple purposes, from capturing precious memories to conducting virtual meetings and attending online classes. However, encountering issues with the iPad camera can be frustrating and hinder these essential tasks.
If you find yourself facing the dreaded “iPad Camera Not Working” issue, fear not! In this comprehensive guide, we will walk you through 10 effective ways to troubleshoot and fix the problem, ensuring your iPad’s camera functions seamlessly once again.
1. Restart Your iPad

The simplest solution often proves to be the most effective. Restarting your iPad can resolve many software-related glitches, including camera malfunctions. To do this, follow these steps:
- Press and hold the Power button until the “slide to power off” slider appears.
- Slide the slider to turn off your iPad.
- After your iPad is off, press and hold the Power button again until the Apple logo appears.
2. Check for Software Updates
Outdated software can lead to compatibility issues, affecting the performance of various functions, including the camera. Ensure your iPad’s software is up to date by following these steps:
- Go to Settings.
- Select General.
- Tap on Software Update.
- If an update is available, follow the prompts to download and install it.
3. Close Unnecessary Background Apps
Running multiple apps in the background can sometimes lead to conflicts that result in the camera not working properly. To close background apps:
- Double-click the Home button (or swipe up from the bottom of the screen on iPads without a Home button).
- Swipe left or right to navigate through the open apps.
- Swipe the app’s preview window upwards to close it.
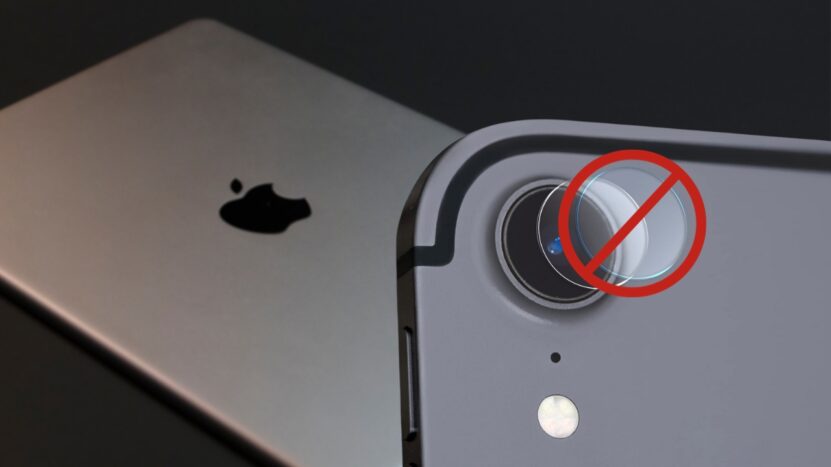
4. Clear the Camera Lens and Cover
![]()
Physical obstructions or smudges on the camera lens can cause blurry or distorted images. Gently wipe the lens with a clean, lint-free cloth. Also, ensure that any protective covers or cases are not obstructing the camera.
5. Check App Permissions
Some apps require specific permissions to access the camera. If the camera issue is app-specific, make sure the app has the necessary permissions:
- Go to Settings.
- Scroll down and select the app causing the issue.
- Ensure that the Camera permission is enabled.
6. Reset All Settings
Resetting all settings to their default values can fix hidden software glitches affecting various functions of your iPad, including the camera. Be aware that this will also reset Wi-Fi passwords, display settings, and other preferences. To reset all settings:
- Go to Settings.
- Select General.
- Scroll down and choose Reset.
- Tap Reset All Settings and confirm.
7. Force Close and Reopen the Camera App
Sometimes, force-closing the camera app and reopening it can resolve minor software bugs. Here’s how:
- Double-click the Home button (or swipe up from the bottom of the screen on newer iPads) to open the app switcher.
- Swipe left or right to locate the camera app.
- Swipe the camera app’s preview window upwards to close it.
- Return to the home screen and tap on the camera app to reopen it.
8. Perform a Hard Reset
If the camera issue persists, a hard reset can help resolve deeper software problems without erasing your data. To perform a hard reset:
- Press and release the Volume Up button quickly.
- Press and release the Volume Down button quickly.
- Press and hold the Power button until the iPad restarts.
9. Restore Your iPad
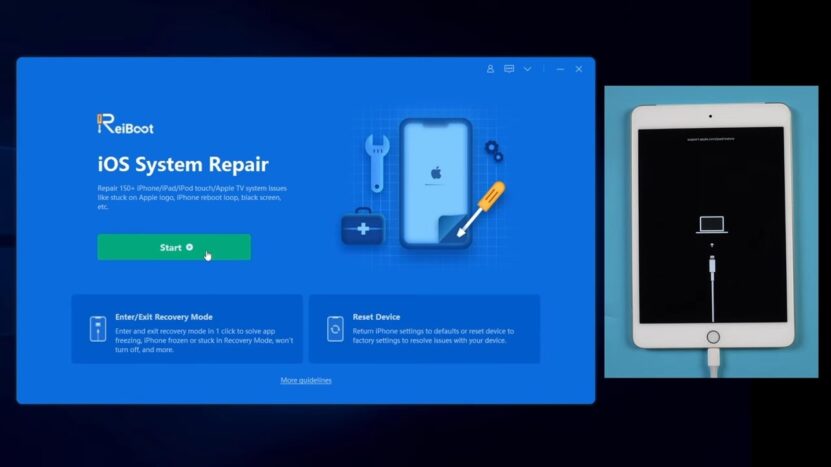
If none of the above solutions work, restoring your iPad to its factory settings might be necessary. This should be considered a last resort, as it erases all data on your device. Before proceeding, make sure to back up your iPad either through iCloud or iTunes:
Using iCloud:
- Go to Settings.
- Select your name at the top.
- Tap iCloud.
- Scroll down and tap iCloud Backup.
- Tap Back Up Now if a backup hasn’t been done recently.
Using iTunes (or Finder on macOS Catalina and later):
- Connect your iPad to your computer and open iTunes (or Finder).
- Select your iPad when it appears in iTunes or Finder.
- In the Summary section, click on Back Up Now.
Once you’ve backed up your data, you can perform a restore:
- In Settings, go to General.
- Scroll down and choose Reset.
- Tap Erase All Content and Settings.
- Follow the prompts to restore your iPad.
10. Contact Apple Support or Visit an Apple Store

If all else fails, it’s time to seek professional help. Contacting Apple Support through their official website or visiting an Apple Store can provide you with personalized assistance and potential hardware repairs if the issue is beyond software troubleshooting.
In conclusion, encountering issues with your iPad’s camera can be frustrating, but armed with these 10 effective troubleshooting methods, you can get back to capturing memories and engaging in virtual interactions in no time. From simple restarts and updates to more advanced solutions like resetting and restoring, there’s a solution for every level of camera malfunction. Remember, patience and systematic troubleshooting are key to identifying and resolving the underlying issue.
Common Software Errors
Software errors can often be the culprits behind a malfunctioning iPad camera. These errors may stem from a variety of sources, such as app conflicts, system glitches, or outdated software. Identifying and addressing these common software errors can significantly contribute to resolving the “iPad Camera Not Working” issue. Let’s explore some prevalent software-related problems and their solutions.
1. App Conflicts
Running multiple apps simultaneously or using apps that require camera access can sometimes lead to conflicts, causing the camera to freeze or malfunction. If you suspect that an app conflict is causing the camera issue, follow these steps:
- Close all open apps: Double-click the Home button (or swipe up from the bottom of the screen on newer iPads) to open the app switcher. Swipe left or right to navigate through open apps, and swipe up on each app’s preview window to close it.
- Reopen the camera app: Return to the home screen and open the camera app. Check if the camera is functioning properly now.
- Test individual apps: Open one app at a time, particularly those that use the camera, to identify if any specific app is causing the issue. Uninstall and reinstall the problematic app if necessary.
2. Outdated Software
Outdated iOS software can lead to compatibility issues with various functions, including the camera. Ensure that your iPad’s software is up to date by following the steps outlined earlier in this guide under the “Check for Software Updates” section.
3. System Glitches
Minor system glitches can impact the overall performance of your iPad’s camera. These glitches can be resolved by force-closing and reopening the camera app or by performing a hard reset, as explained earlier in the guide.
4. Privacy Settings
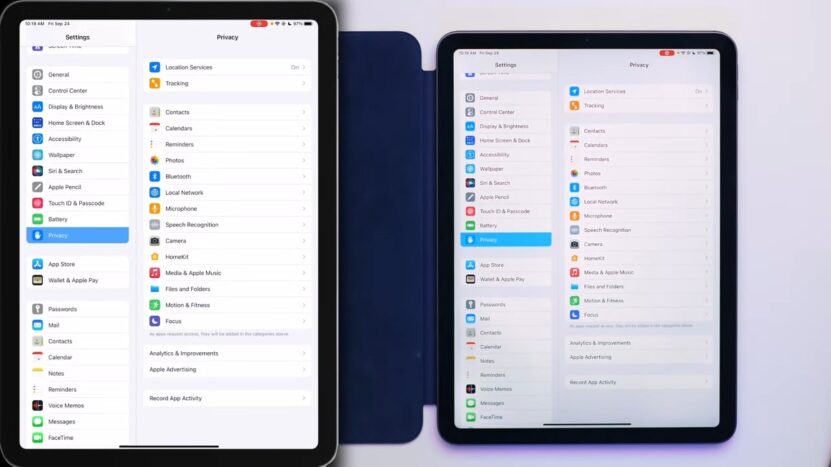
Sometimes, camera issues are caused by incorrect privacy settings that prevent apps from accessing the camera. To address this:
- Go to Settings.
- Scroll down and select Privacy.
- Tap on Camera.
- Ensure that the toggle switch next to each app you want to use the camera with is turned on.
5. Low Storage Space
Insufficient storage space on your iPad can lead to performance issues, including problems with the camera. To free up storage space:
- Go to Settings.
- Select General.
- Tap on iPad Storage.
- Review the apps using the most storage and consider deleting unnecessary apps, photos, and videos.
6. Cache and Data Buildup
Over time, cached data and temporary files can accumulate, potentially causing camera-related problems. While iOS generally manages this automatically, occasionally, clearing cache manually can help:
- Open the Settings app.
- Scroll down and select Safari.
- Scroll down and tap on Clear History and Website Data.
FAQs
Why does my iPad camera display a black screen even after trying the solutions mentioned?
A black screen issue may be due to a hardware problem with the camera sensor itself. If you’ve exhausted all software-related solutions and the problem persists, it’s advisable to contact Apple Support or visit an Apple Store for a professional diagnosis.
My camera started malfunctioning after a recent app update. What should I do?
If the camera issue coincided with an app update, there could be a compatibility problem. Try uninstalling and reinstalling the specific app causing the issue. If the problem persists, reach out to the app’s developer for support or look for an app update that addresses the camera problem.
Can I restore my iPad without losing my data?
Yes, you can restore your iPad without losing your data by creating a backup before performing the restore. Use iCloud or iTunes/Finder to back up your data, and then follow the restoration steps outlined in the guide. Your data will be restored after the process is complete.
My iPad camera works fine on some apps but not on others. What’s happening?
If the camera works on some apps but not others, it’s likely a permission issue. Check the app’s settings to ensure that it has the necessary camera permissions. If the problem persists, consider reinstalling the problematic apps or reaching out to their respective support teams.
How do I know if my camera issue is hardware-related?
If you’ve exhausted all software troubleshooting options and the camera problem persists, it’s a good indication that the issue might be hardware-related. However, before jumping to conclusions, contact Apple Support or visit an Apple Store for a professional assessment to confirm whether the problem is indeed hardware-related.
Can I perform a hard reset on my iPad if it’s frozen due to the camera issue?
Yes, you can perform a hard reset even if your iPad is frozen due to the camera issue. The hard reset process involves pressing specific buttons simultaneously, which can help restart your device and potentially resolve software glitches. Refer to the guide for detailed steps on performing a hard reset.
Conclusion
From the elementary restarts and updates to the more intricate terrain of app conflicts and privacy settings, you’ve explored a range of troubleshooting strategies. You’ve navigated through potential software snags and emerged as a savvy problem-solver. Remember, patience and persistence are your allies on this journey to camera functionality restoration.
As we sign off, keep in mind that technological hiccups are part and parcel of the digital landscape. But with your newfound knowledge, you possess the keys to unlock your iPad’s visual prowess once more. Whether you’re capturing the sun’s golden hues during a tranquil morning or sharing your latest culinary masterpiece, your iPad’s camera is ready to be your creative partner once again.
So go forth, explore, and reimagine the world through your lens. Let the digital canvas of your iPad frame moments that matter – moments that you can now capture anew, thanks to the comprehensive toolbox of solutions you’ve discovered.